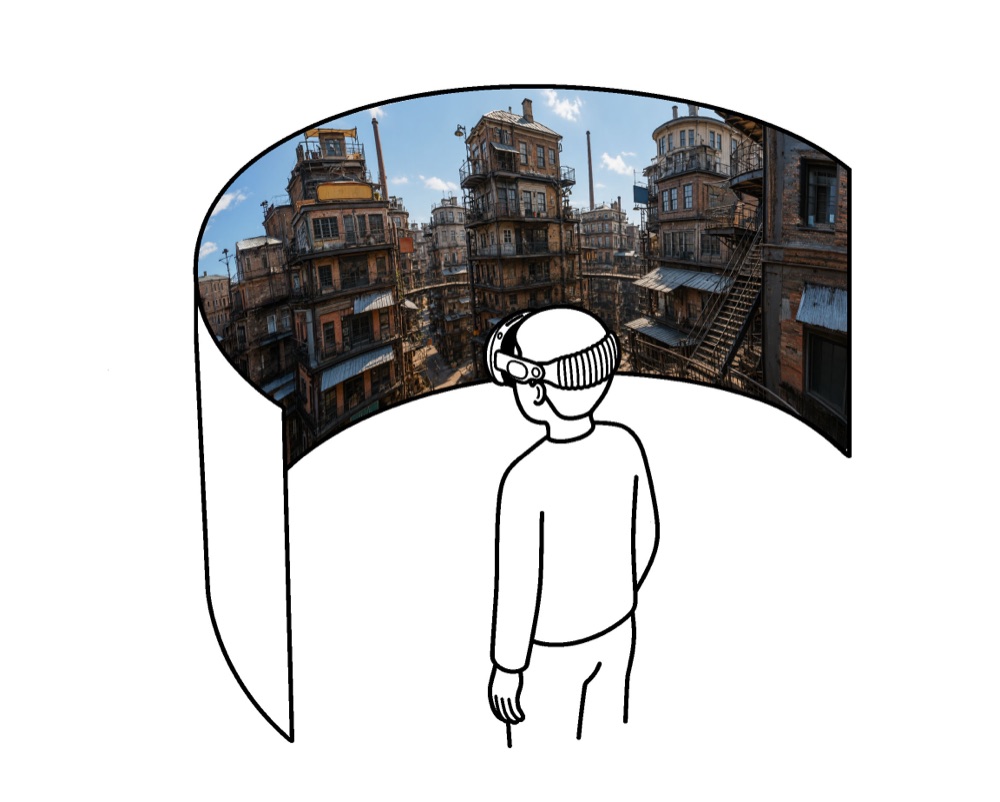
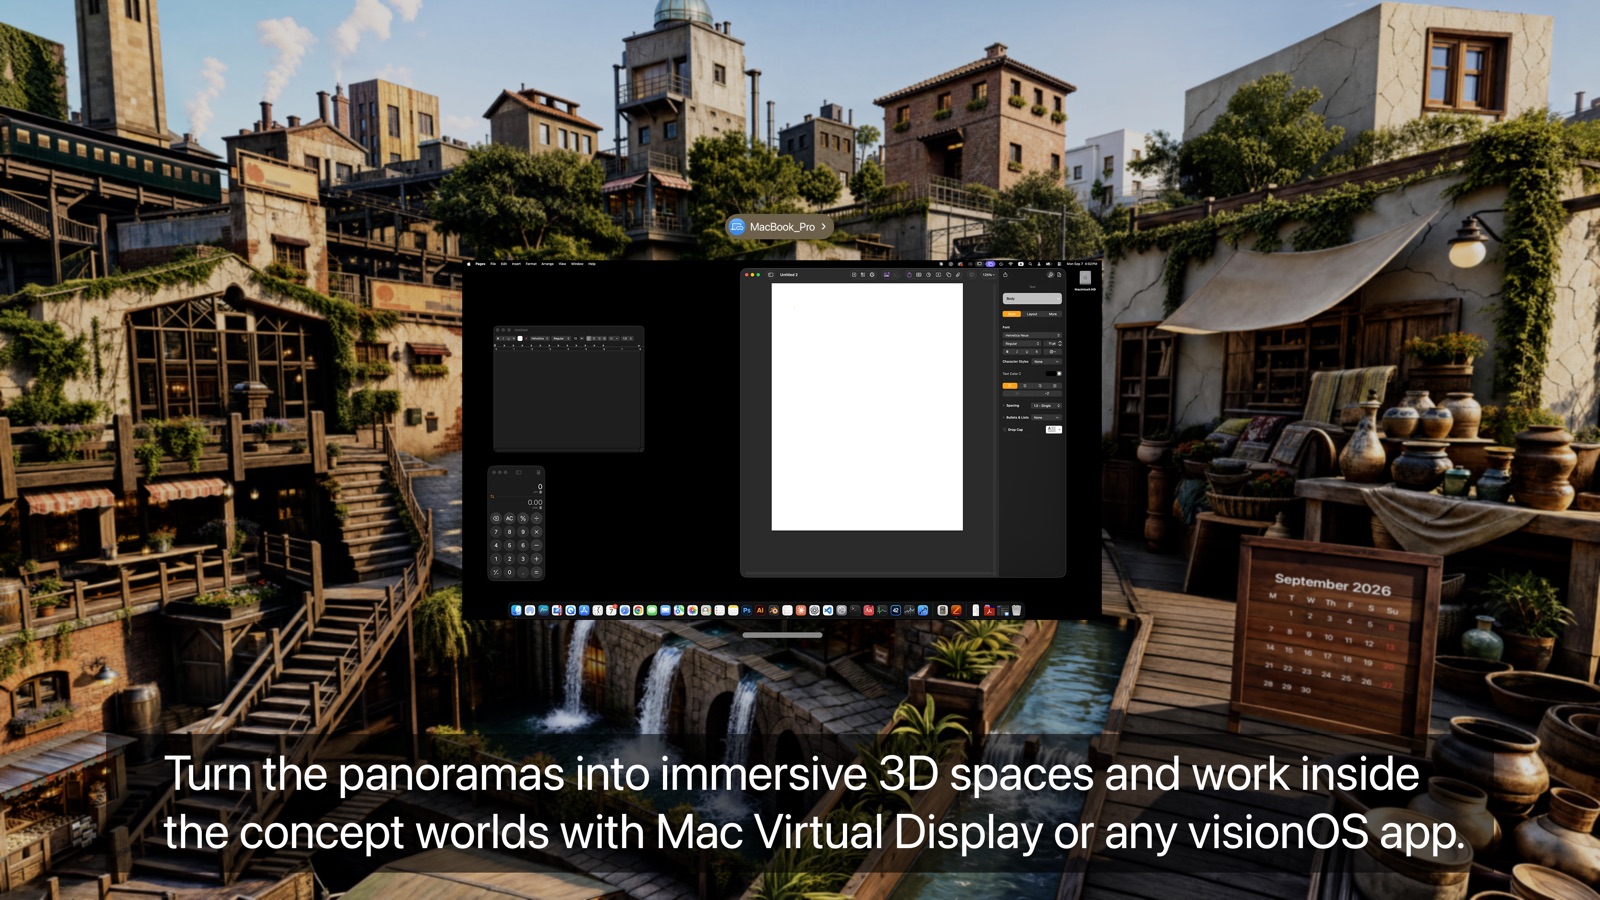
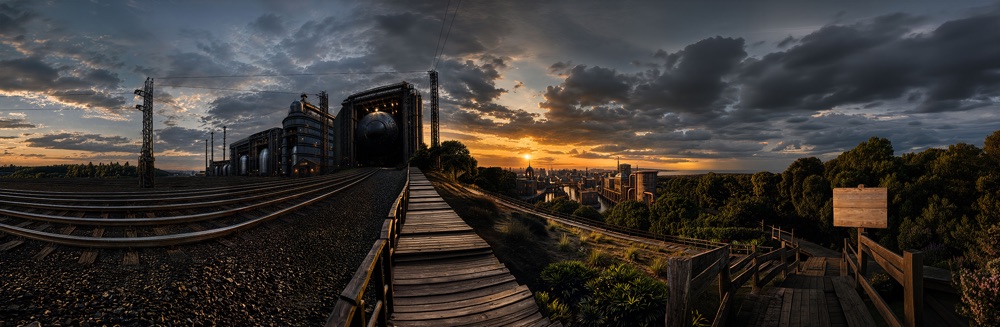
Preview a panorama of our imaginary city on a curved panel
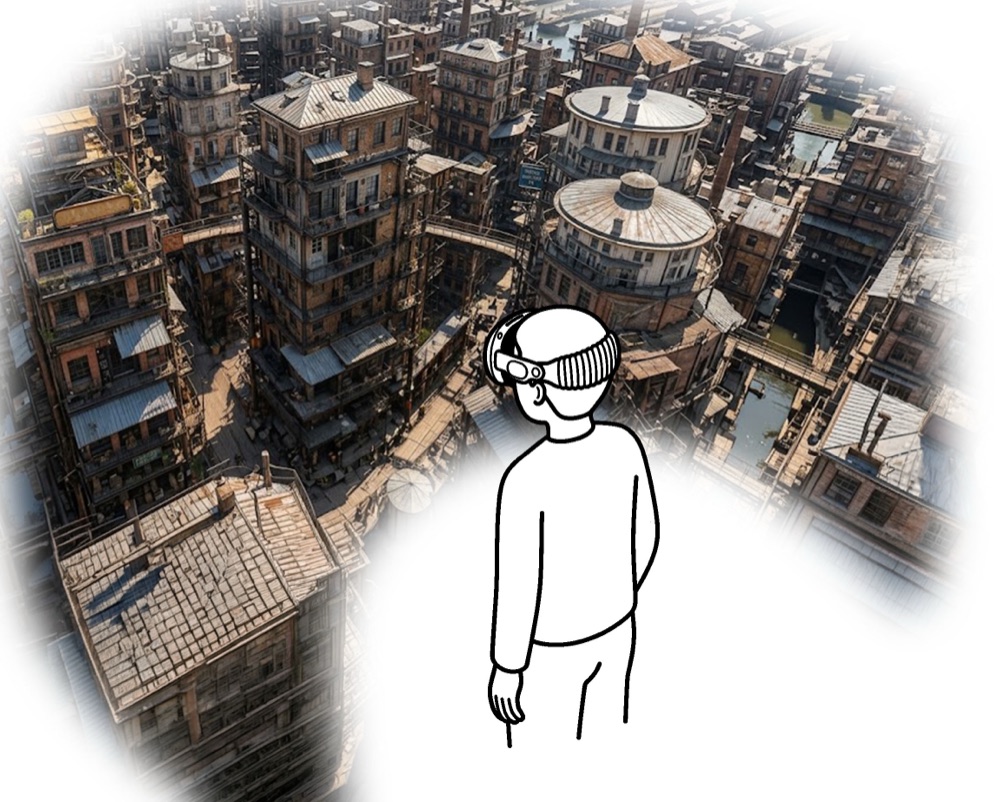
around you, then save it to Photos to turn it into a Personal Environment
with visionOS.
Preview the panorama on a curved panel around youThen step inside it as a 3D environment
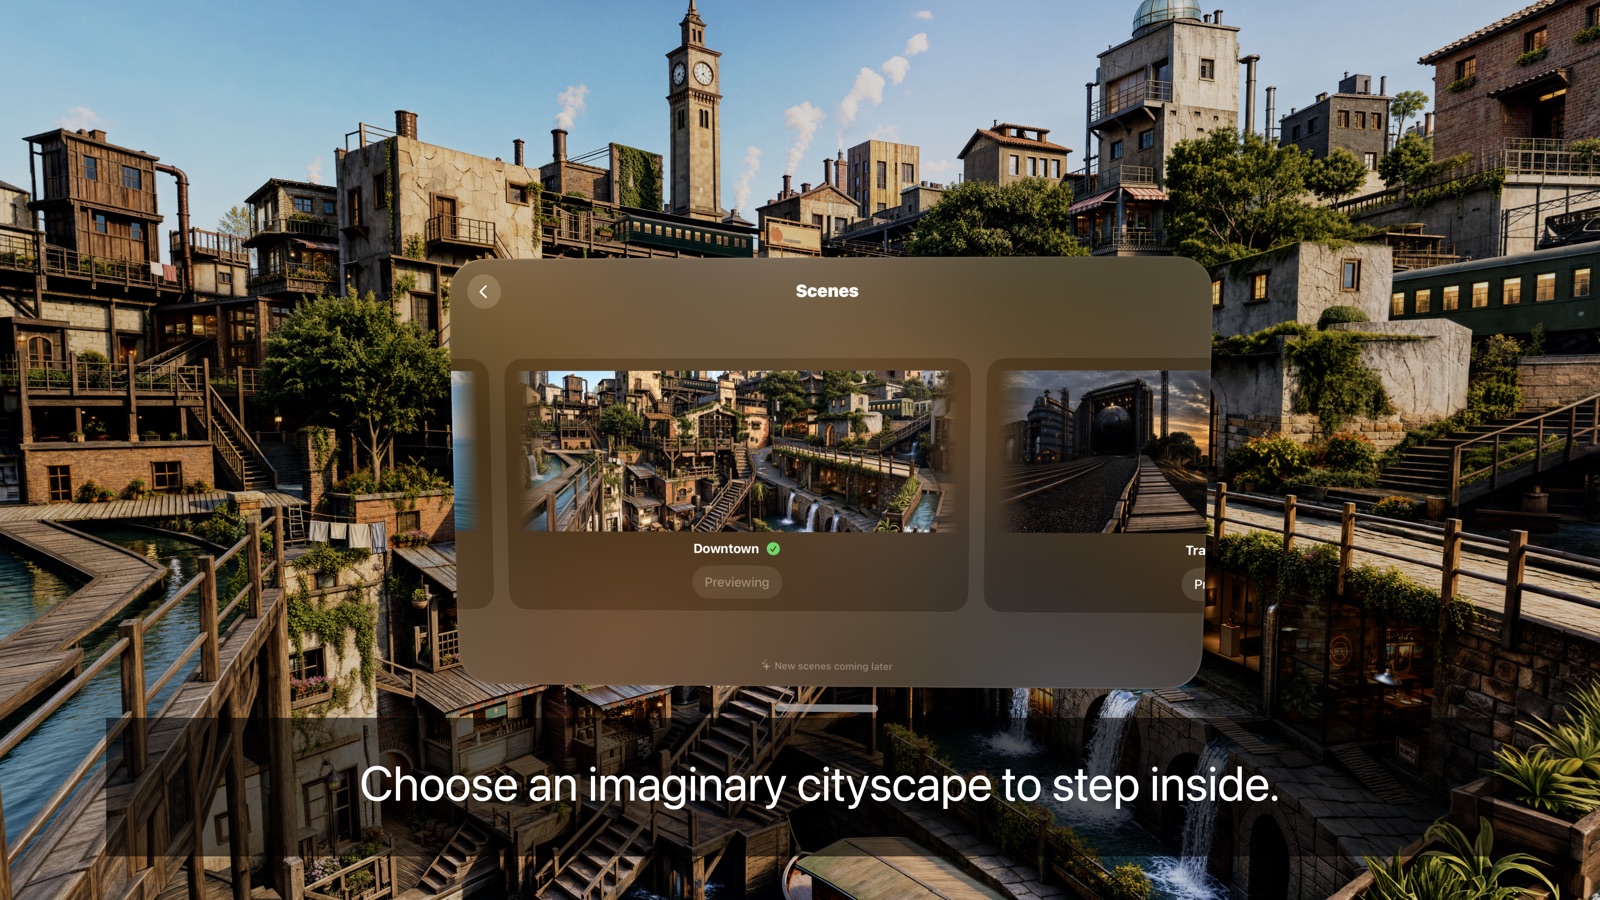
Panorama Retreats lets you choose one of our concept-art cityscapes and
turn it into a 3D environment for Apple Vision Pro. visionOS 27 can convert
panoramic images into spatial 3D environments. We created, upscaled, and
carefully prepared our concept-art scenes so they can be converted using
this feature.
The app previews each panorama around you before you commit to it, lets
you personalize a part of the scene if you like, and then saves the finished
image to your Photos library. From there, visionOS does the spatial
conversion. A built-in How It Works page in the app walks
you through the rest.
What you can do
Every scene is original concept art,
extended into a wide panorama and prepared for visionOS. Preview it on a
curved panel around you before you decide.
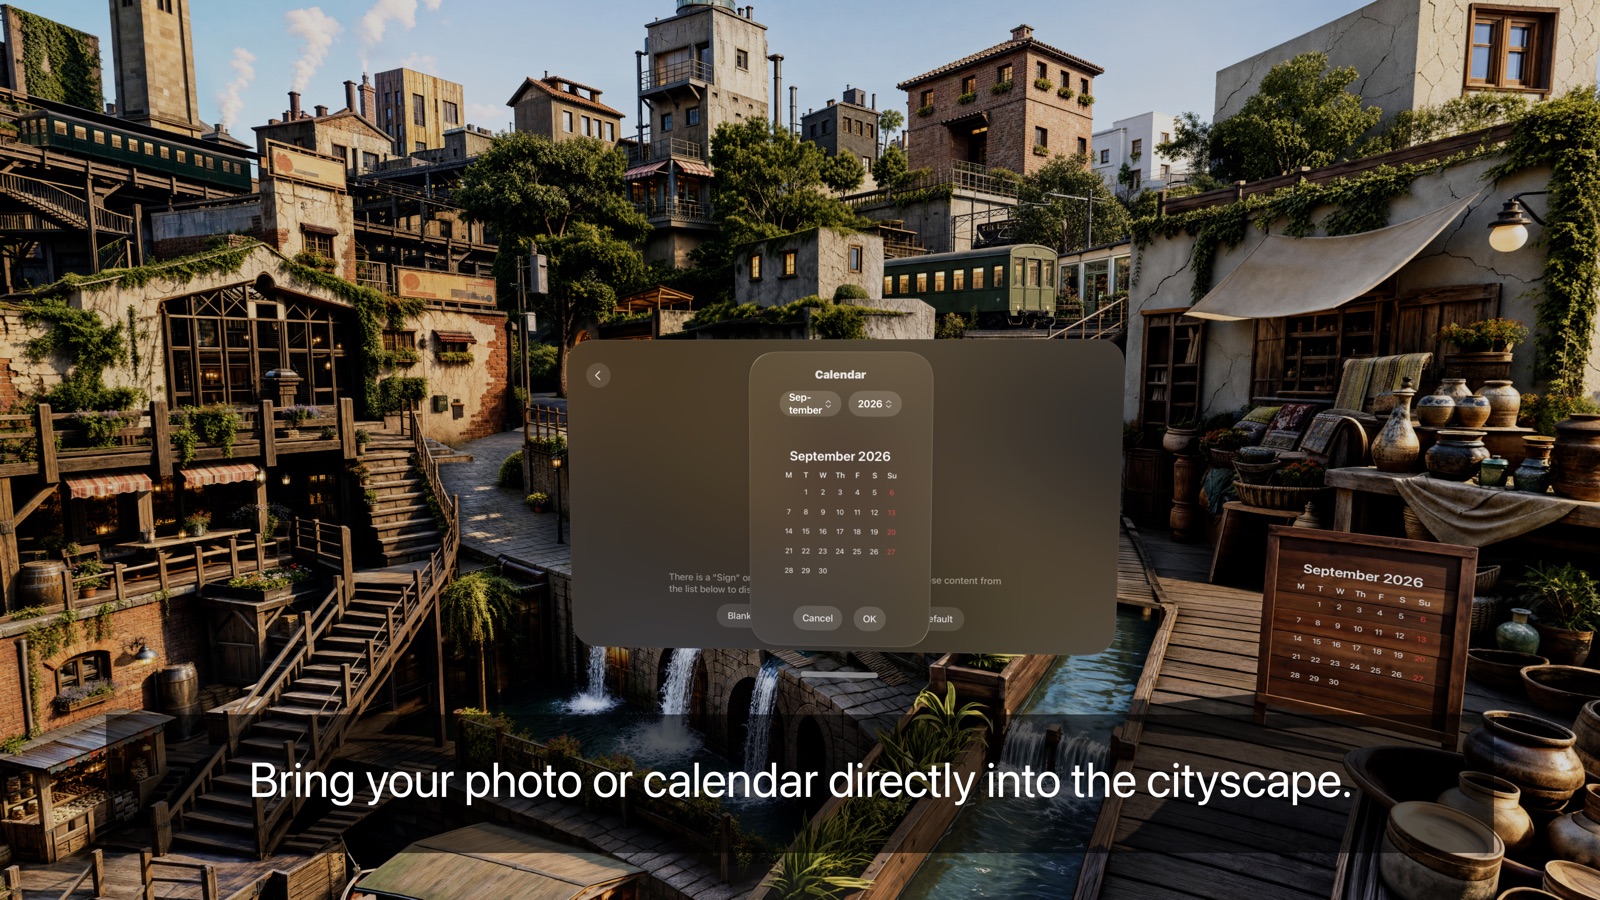
All scenes have a sign or canvas you can fill
with a photo from your library, or with a calendar for the month you
pick, so the environment becomes yours.
Once visionOS has converted the saved panorama,
it becomes a Personal Environment that works with other visionOS apps,
the same way the built-in environments do. Open Mac Virtual Display,
Safari, or the apps you already use and work inside the concept world.
The scene wraps a wide panoramic view around you.
Requires Apple Vision Pro running visionOS 27 or later.
Saving a scene asks for permission to add images to your Photos library.
The app collects no data — see the
Privacy Policy.
Behind the Scenes — How These Environments Were Made
Artist: Daichi
As you may know, Apple Vision Pro can be a great tool for productivity.
One of my favorite features is the ability to instantly replace my
surroundings with an immersive environment. Whether I’m in my room,
sitting on a flight, or working from a hotel room with a small desk, I can
open Mac Virtual Display and work on a gigantic virtual screen surrounded
by mountains or a beach. I often find myself much more focused this way.
But there was one thing I kept wishing for: more environments.
Even better, I wanted to design the places I could virtually work inside.
When I learned that visionOS 27 could convert panoramic photos into spatial
3D environments, I decided to experiment with turning my own concept-art
cityscapes into environments for Apple Vision Pro.
It wasn’t quite as straightforward as I initially expected. I started
with my existing concept art and gradually rebuilt and adapted it for
panoramic viewing. Below is a simplified example of the workflow. You may
also find some of these techniques useful if you’d like to experiment
with turning your own artwork into an environment.
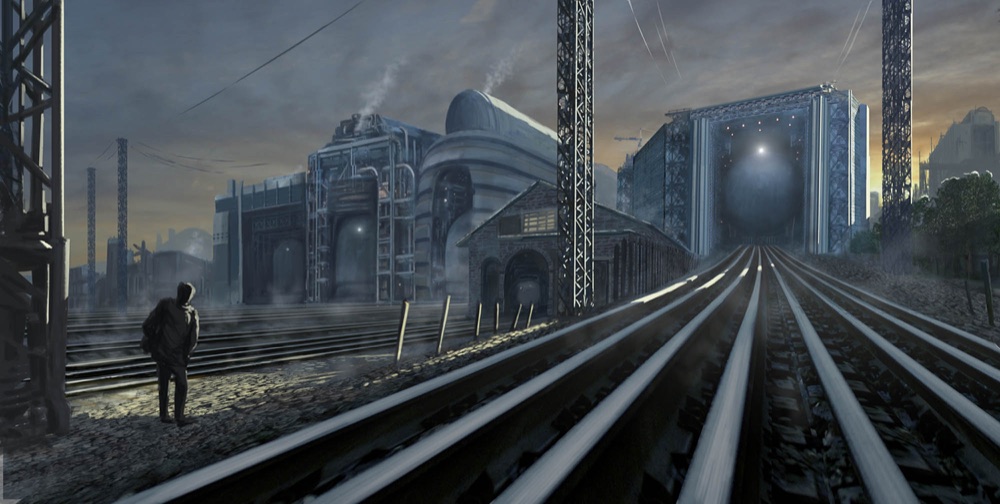
1. Original concept art
I begin with my own concept art, usually painted in Adobe
Photoshop and Adobe Fresco. The original artwork
is relatively rough and is typically around 2K resolution. It isn’t
panoramic, and the resolution isn’t high enough for the final Apple
Vision Pro environment.
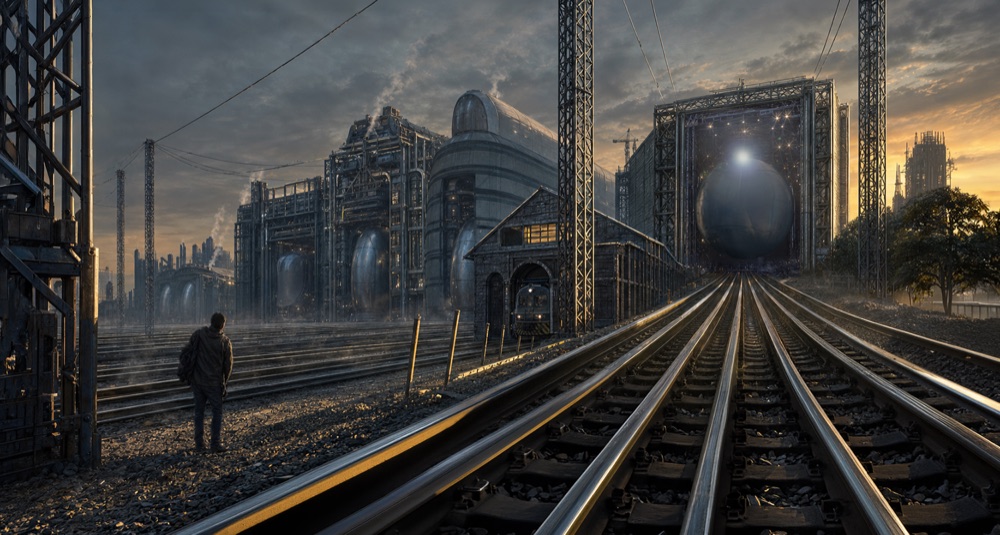
2. Upscaling and adding detail
Next, I create a much higher-resolution version. I use Photoshop together
with generative AI tools to upscale the artwork, reconstruct details,
improve textures, and refine areas of the original painting. The original
concept art remains the foundation and visual direction for the scene.
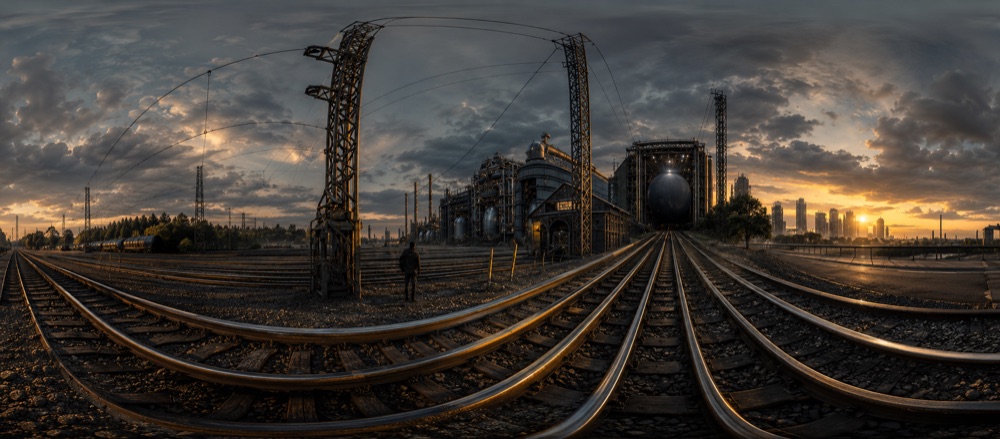
3. Building the panorama
Next, I extend and reconstruct the artwork into a panoramic image while
continuing to add detail. I use a combination of Photoshop, generative AI,
and manual editing for this process. An important part of this step is
creating the characteristic distortion of a panoramic image. Much of this
is done manually by studying the way real panoramic photographs distort
perspective and then recreating those characteristics in the artwork.
4. Final composition and finishing
For this particular example, I changed my mind about the composition. The
original artwork placed the viewer directly on the railroad, which worked
as an interesting composition for the concept art but felt less comfortable
as an immersive environment. I repositioned the viewpoint using
Photoshop’s distortion, transformation, and rotation tools.
I then refined the panorama, corrected visual issues, and prepared it for
use as an environment. The finished image is approximately
12,000 × 4,000 pixels. From a relatively small
concept painting, the result is a large panoramic world that visionOS can
transform into a spatial environment you can actually step inside.
Usage Notice: Images saved from this app may be used
free of charge for personal use as 3D environments on Apple
Vision Pro. All rights are reserved; the images may not be
redistributed, modified, reproduced, sold, or used for any other purpose
without permission.